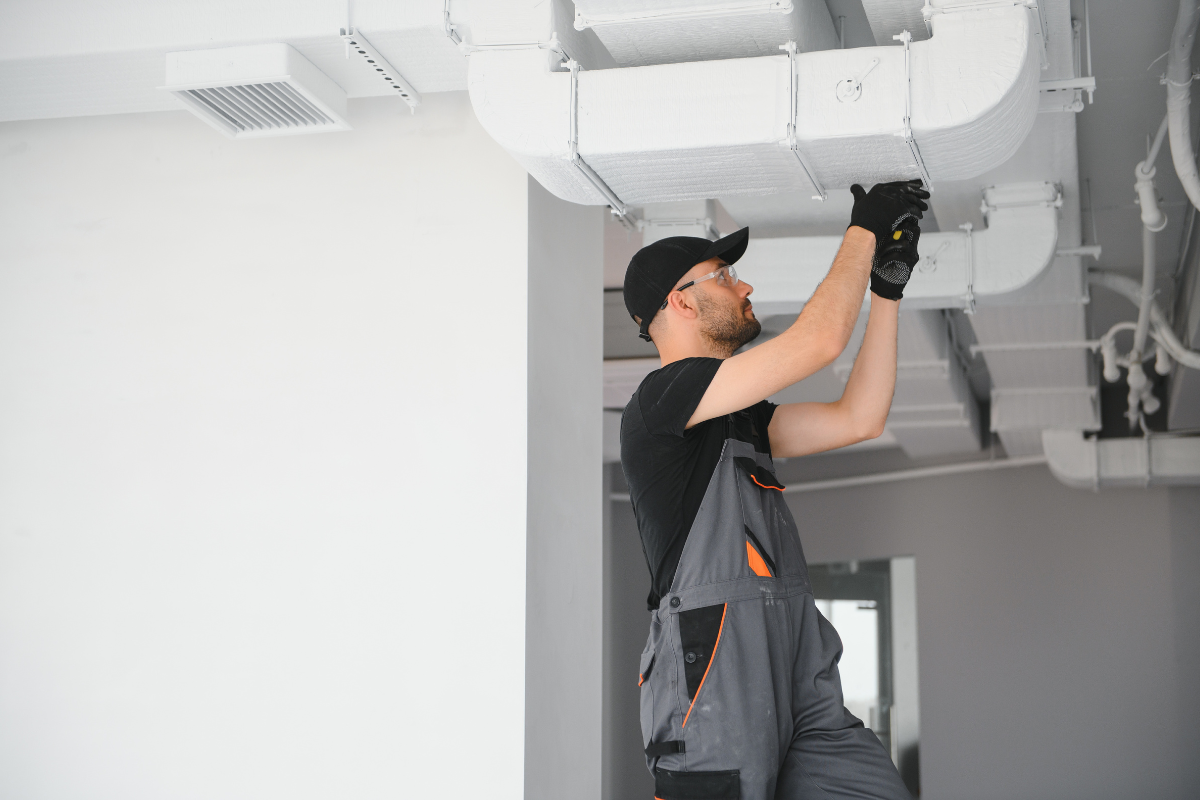
Radiant floors solve a problem that forced-air systems never quite crack: how to make a room feel warm without blasting hot air and stirring up dust. Warmth rises gently from the floor, surfaces keep a steady temperature, and feet stay comfortable even when the thermostat is set lower. That said, radiant systems reward careful planning and crisp execution. They are not difficult for a skilled installer, but they punish shortcuts. If you are considering a heating system installation for a new build, a major renovation, or a heating replacement, understanding the basic decisions and steps will save you time, money, and headaches later.
Hydronic vs. Electric: Choosing the Core Technology
Most radiant floors fall into two camps. Hydronic systems circulate warm water through tubing. Electric systems use heating cables or mats embedded in thinset or self-leveling compound. Your project’s size, utility rates, and floor assembly usually point strongly toward one or the other.
Electric radiant floors excel in small areas with intermittent use: a bathroom, a mudroom, a basement office. They are thin, quick to install, and controlled by a simple thermostat. You can warm a 50 square foot bathroom floor with around 300 to 500 watts, timed to run before morning showers. Initial cost is lower than hydronic, and you avoid the complexity of a boiler, pumps, and manifolds. The trade-off is energy cost. In regions with high electricity rates, heating large spaces electrically can become expensive.
Hydronic radiant floors scale well for whole-house coverage, additions, or large open rooms. Hot water from a boiler or high-efficiency water heater moves through PEX tubing in circuits. You control each zone with valves and thermostats. Hydronic systems cost more to install, but they offer excellent operating efficiency, especially when paired with a condensing boiler, heat pump, or solar thermal assist. They also integrate into larger hydronic heating setups, so if you are already planning a heating replacement, radiant can become part of a broader heating unit installation strategy.
There is a third path occasionally used: air-based radiant floors, which move heated air through underfloor channels. In practice they are rare due to limited heat capacity and control challenges. If you encounter them in older projects, they often justify an upgrade.
Understanding Heat Output and Floor Coverings
Radiant floors are limited by surface temperature. Most modern guidelines aim to keep occupied floor surfaces below roughly 85 F in living spaces and 82 F in bedrooms for comfort and safety. Heat output depends on the temperature difference between the floor and the room, and on resistance of the floor covering.
Tile on a thinset layer is the easiest path to good performance. Stone and porcelain conduct heat well and tolerate cycling. Wood floors also work, but details matter: engineered wood over radiant is safer than solid hardwood, and high-moisture environments demand cautious humidity control. Laminate, vinyl plank, and carpet can be fine if manufacturers approve them for radiant use and if combined R-values stay modest. As a rule of thumb, once total floor covering resistance creeps beyond about R-1, you start to constrain output and may need higher water temperatures or tighter tube spacing.
If you plan carpet, pair it with a low R-value pad and keep carpet thickness reasonable. With hardwood, target a species and cut that move less with humidity swings, and acclimate the boards properly. If you design for a high-output room like a north-facing great room with big glass, soften your expectations about plush carpet or give yourself more tube density in those areas.
Slab, Overpour, or Over-Subfloor Panels
The floor assembly shapes the installation from start to finish. Three common approaches cover most cases, each with quirks.
In a slab-on-grade or basement, the tubing sits within the concrete slab. Ideally you place continuous foam insulation under the slab and vertical isolation around the perimeter. The slab becomes a thermal battery. It warms slowly, cools slowly, and evens out temperature swings. If you lack insulation under an existing slab, performance suffers. You can still retrofit through above-slab methods or accept lower output.
Above a framed floor, you can use a thin overpour or a dry system. A lightweight concrete or gypsum-based overpour embeds tubing over the subfloor, then you finish with your chosen floor covering. Overpours add mass and help with even heat distribution. They add weight, height, and drying time, which matters for schedules and transitions to adjacent rooms.
Dry systems avoid wet work. Aluminum transfer plates fastened under the subfloor or within grooved panels on top of the subfloor spread heat from the tubing. Products like aluminum-clad panels provide strong output at lower water temperatures. They also offer precise tube spacing and quick response compared to slab systems. They cost more in materials than simple PEX in a pour, but save time and minimize structural load. For many retrofits, grooved panels or under-joist plates strike the best balance.
Planning the System: Loads, Zones, and Water Temperatures
Ignoring a heat loss calculation is the first way to oversize or underperform. A room-by-room Manual J or equivalent heat load assessment sets the target output. That number, along with floor covering resistance and available real estate for tubing, determines tube spacing and design water temperatures.
Most living spaces land in the 10 to 25 BTU per hour per square foot range, tighter homes on the lower end and old leaky rooms on the upper end. A bathroom with exterior walls and tile might be 20 BTU/ft² at design temperature, which radiant floors handle with ease. A glass-heavy sunroom may push to 30 BTU/ft² in cold climates, where you might supplement with a towel warmer or panel radiator to cover peaks.
Divide the home into zones that make sense. Bathrooms want short warm-up times. Large slabs prefer steady, gentle input. Bedrooms often run cooler. Group rooms that share similar solar gains and floor coverings. Keep circuit lengths and loop counts balanced so the pump sees even resistance across the manifold.
Target supply water temperatures depend on your assembly. A high-performance panel system under wood might deliver the load with 100 to 120 F water. A thin slab overpour under tile may need only 90 to 110 F. A bare basement slab with minimal insulation may need 120 to 140 F on cold days. Lower water temperatures favor condensing boilers and heat pumps and make controls simpler. Designing for low-temperature operation pays dividends in efficiency and comfort.
Hydronic Components: What Goes Where and Why
A hydronic radiant floor is more than PEX loops. The core components include a heat source, distribution, controls, and safety devices. Each choice influences efficiency and long-term serviceability.
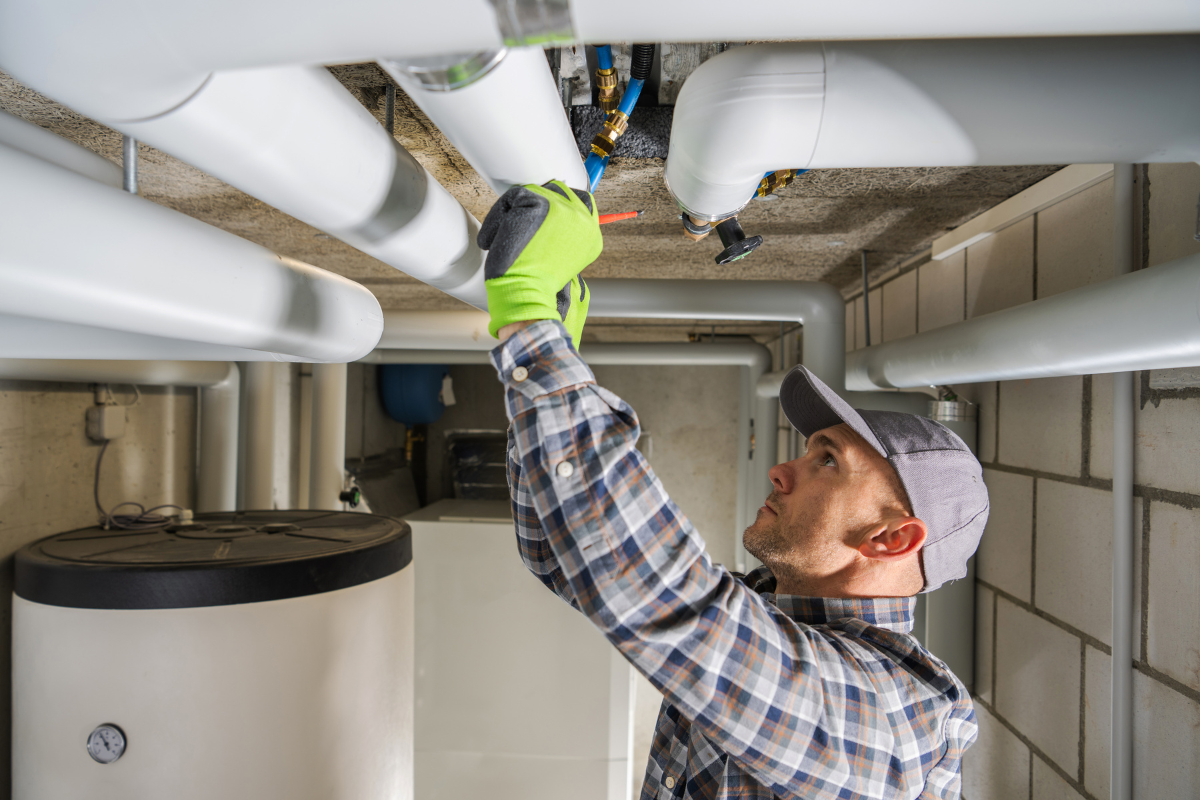
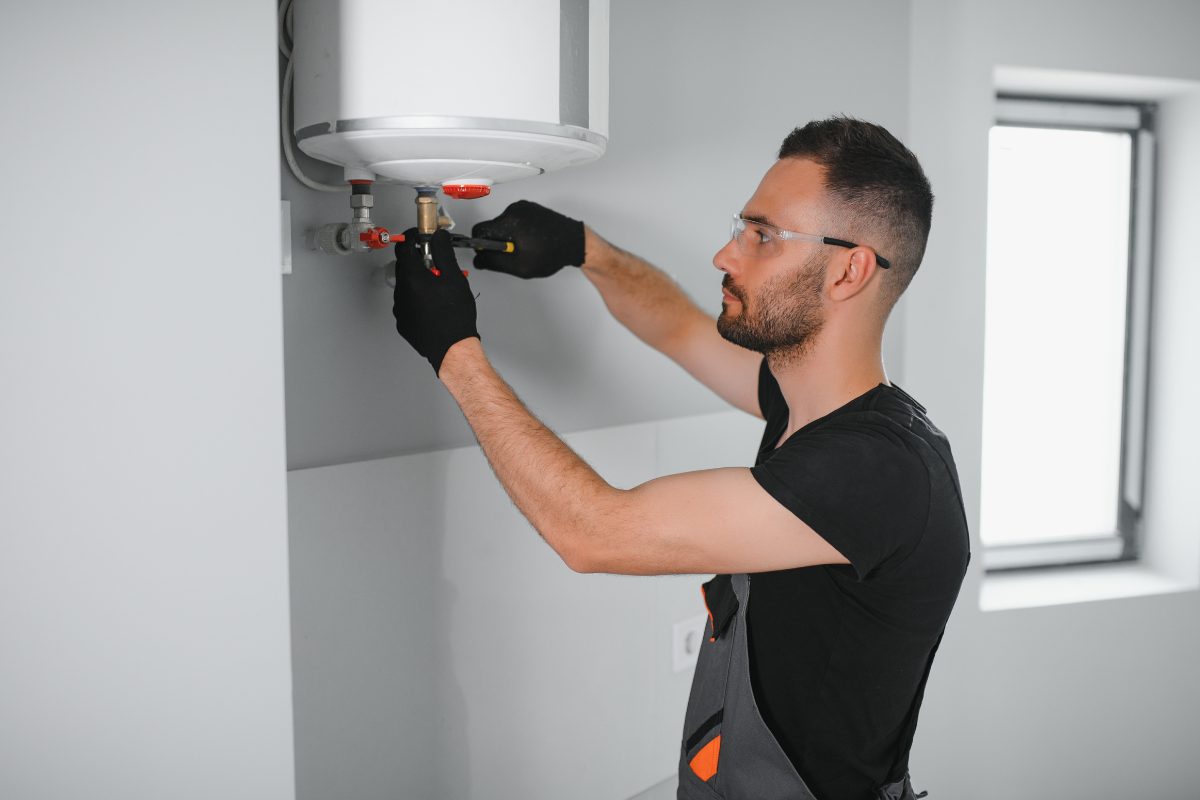
The heat source can be a condensing boiler, a dedicated radiant-rated water heater, or a hydronic heat pump. Condensing boilers shine at low return temperatures and modulate their firing rate, which suits zoned radiant floors. If you use a tank-type water heater for space heating, make sure it is rated and piped for that purpose and local codes allow it.
Distribution starts at a manifold that splits flow into circuits, typically using 3/8 or 1/2 inch PEX with oxygen barrier. Oxygen-barrier PEX protects ferrous components from corrosion. Place manifolds near the center of their zones to minimize long supply and return runs. Include balancing valves and flow meters on the manifold to dial in each loop. Use isolation valves and purge ports for easier startup and maintenance.
Pumps need enough head to push flow through the longest loops and the manifold, but not so much that you waste power or create velocity noise. A modern ECM circulator with variable speed helps. Primary-secondary piping or hydraulic separators prevent pumps from fighting each other when the system has multiple loads.
Mixing controls keep supply water at the right temperature for the floor. Radiant rarely needs 140 F water, and directly feeding high-temperature boiler water into a floor is asking for discomfort. Options include thermostatic mixing valves, injection mixing with a small pump, or a variable speed mixing control that modulates to a target temperature based on outdoor conditions.
Air elimination and dirt separation extend the life of pumps and valves. An air separator at the hottest, lowest pressure point of the system is effective. A magnetic dirt separator catches black iron oxide if it ever forms. Expansion tanks sized for the total system volume and temperature swing prevent pressure spikes. Relief valves are non-negotiable safety devices. None of these items add glamour, but they keep service calls away.
Electric Radiant Components: Keep It Simple and Approved
Electric radiant floor installations succeed on the strength of layout planning and adherence to manufacturer instructions. Heating mats speed placement in regular rooms, while loose cable shines in nooks and odd shapes. Thermostats with built-in floor sensors keep the system from overshooting.
Run a dedicated circuit sized for the total wattage plus margin, usually 15 or 20 amps for small rooms, larger for big spaces. Install a ground fault device as required. Place the floor temperature sensor midway between cable runs and away from exterior walls or direct sun. Bury it in conduit to make replacement possible without tearing up the floor. Most failures I see stem from skipping the continuity and resistance checks at each stage. Measure and log resistance before embedding the cable, after it is in place, and after the covering goes down. If a staple nicked the cable, you want to know before grouting tile.
Step-by-Step: A Practical Hydronic Install
On a bone-cold morning years ago, we installed hydronic tubing in a 1,000 square foot open-plan addition with concrete overpour and a condensing boiler. The homeowners wanted warm tile in the kitchen and oak in the living area, all on one continuous plane. The plan highlights the sequence that keeps projects clean and on schedule.
First, we confirmed the heat loss for each area, tile and wood zones separated. We chose 1/2 inch oxygen-barrier PEX at 8 inch spacing under tile, 6 inch spacing under a small bay window with high losses, and 8 inch spacing with aluminum plates under the wood floor area to keep water temperatures down. Our design supply temperature at design day was 110 F, with a condensing boiler set to outdoor reset.
We installed perimeter insulation and expansion foam to isolate the overpour. Manifold cabinets were placed in a utility closet roughly centered to minimize supply runs. Each loop was kept under about 300 feet to maintain head within the pump’s curve. We labeled loops by room and loop number as we pulled them, zip-tying them neatly along the way. It takes an extra hour to label meticulously and saves days of chasing later.
Before pouring, we pressure-tested with air at 60 psi and walked it for an hour. A drop would have flagged a crimp or puncture. While the test ran, we mounted the manifold, circulator, and mixing valve, and we roughed in the boiler. The pour went smoothly because the tubing was secured to the wire mesh and we had protectors at doorways. The crew kept the slab wet-cured for several days, then let it https://cruzncgp935.tearosediner.net/what-to-expect-on-the-day-of-your-heating-unit-installation dry to moisture specs before flooring. Wood acclimation took time, but patience here avoids seasonal cupping.
Commissioning involved filling and purging each loop, setting actuator thermostats, and verifying flow rates with the manifold meters. We programmed the outdoor reset curve based on our design calculation, then fine-tuned a few degrees after the first week of operation to match how the homeowners actually lived. They quickly learned to set the thermostat and leave it. Radiant floors prefer small, steady adjustments rather than big swings.
Avoiding Common Pitfalls
Most issues trace back to rushed design or skipped details. Tubing too far apart can leave cool stripes, especially under wood. Overly long loops starve flow, making the far ends tepid. No mixing valve means floors get too hot and people turn the system off, torpedoing comfort and efficiency. On slab jobs, lack of edge insulation bleeds heat into the ground and the foundation rather than into the room.
Another frequent mistake is ignoring floor sensors and relying only on air thermostats. Air temperatures lag floor temperatures, and a sunny day can spike surface heat. A combined control strategy that limits floor temperature while targeting room temperature avoids overshoot. In labyrinthine floor plans, treat rooms with very different exposures as separate zones rather than trying to split the difference with one thermostat.
For electric systems, poor cable spacing or crossing runs create hot spots. Using a metal trowel aggressively over a cable can nick insulation invisibly. An ohm reading log and a loudmouth alarm tool that squeals when continuity breaks pay for themselves on the first saved cable.
Controls and Tuning for Real Life
Radiant floors will not deliver the quick blast of heat you get from a forced-air register. They excel at maintaining even temperatures and surface comfort. Installers can sharpen that edge with controls.
Outdoor reset for hydronic systems reduces supply temperature as outdoor temperatures rise. That prevents overheating during mild weather and improves boiler efficiency. Thermostats with pulse-width modulation or proportional control prevent short cycling of zone valves and pumps. In homes with mixed emitters, such as radiant floors and panel radiators, give the system a proper hydraulic separator and design the mixing strategy so each emitter gets what it needs without compromise.
If you have a thick slab with lots of solar gain, incorporate a floor temperature limit and a modest setback overnight. That slab might still dump heat into the room in the afternoon, so do not chase afternoon spikes with big thermostat movements. If the home includes a heat pump, coordinate minimum water temperatures with the manufacturer’s performance curves. Low-temperature radiant pairs nicely with air-to-water heat pumps in many climates, but the design must respect defrost cycles and backup heat strategies.
Integrating Radiant into a Heating Replacement
The best time to evaluate radiant is during a heating replacement or major renovation. Forced-air furnaces nearing end of life often drive the conversation. Some homeowners ditch ducted heat entirely in favor of hydronic radiant paired with ducted or ductless cooling for summer. Others keep a modest duct system for cooling and shoulder-season heat, while radiant handles key areas like the kitchen, bathrooms, and living spaces.
A common hybrid approach uses a condensing boiler for radiant floors and panel radiators in rooms where radiant is impractical, such as small upstairs bedrooms with thick carpet or complex framing that resists tubing. The boiler also provides indirect domestic hot water, which can simplify equipment. If switching from a combi boiler to a dedicated boiler with an indirect tank, pay attention to pumping priorities, piping lengths, and expansion tank sizing to keep domestic performance snappy without starving heating zones.
Where gas is unavailable or you prefer electrification, an air-to-water heat pump feeding low-temperature radiant floors can deliver excellent comfort. In cold climates, a backup electric boiler or hybrid setup may be needed for extreme days. Designing radiant for lower water temperatures from the start broadens your options for efficient heat sources when you upgrade.
Cost Ranges and Where to Spend
Costs vary by region, labor rates, and material choices. For electric radiant in a small bathroom, materials often land in the range of a few hundred to a couple thousand dollars, plus labor. Hydronic whole-house systems can range widely, from tens of thousands for a modest home to significantly more in large custom builds with intricate zoning, premium controls, and high-end finishes.
Spend money where it compounds value. Quality manifolds with flow meters and isolation valves speed commissioning and service. Aluminum transfer plates or engineered panels improve output and lower water temperature, boosting efficiency. A modulating condensing boiler or well-matched heat pump reduces operating costs and noise. Proper insulation under slabs and at the edges is non-negotiable. Skimping on controls or air elimination invites callbacks.
Retrofitting Without Tearing Everything Apart
Not every home wants saws and pours. Under-joist radiant with aluminum plates is a reliable retrofit path. You remove a portion of basement ceiling finishes, fasten plates to the underside of the subfloor, snap in PEX, and add insulation below to push heat upward. Careful plate layout and good insulation make this approach competitive with over-floor panels, and it preserves finished flooring above.
For finished spaces where you can accept a small increase in floor height, over-subfloor grooved panels create a thin profile radiant layer. Follow manufacturer layouts to maintain tube spacing and avoid noisy finishes. Keep transitions to adjacent rooms in mind. Door swings, stair noses, and baseboard heights all need attention.
Electric radiant shines in piecemeal retrofits. Remodel the bathroom, warm the tile. Update the kitchen, add mats in front of the sink and prep areas. You are not obligated to heat every square inch. Target the zones where bare feet want warmth the most.
Commissioning: The Last 10 Percent That Matters
A radiant system can have perfect hardware and still disappoint if you skip commissioning. Hydronic systems should be purged of air loop by loop, then pressurized and checked for leaks. Set pump speeds and balance flows so each loop gets its share. Confirm the expansion tank precharge is correct for the static height of the system. Log supply and return temperatures at the manifold during initial operation. If one loop reads cold, check for closed actuators, obstruction, or reversed piping.
Program thermostats thoughtfully. Radiant likes stable setpoints with gentle setbacks, if any. If the home has peak electricity pricing, coordinate schedule changes with the system’s response time. Slabs need hours to move temperature, not minutes. Electric radiant thermostats should have their floor limit enabled according to the flooring manufacturer’s specs, especially under wood or vinyl.
Finally, walk the homeowner through operation. Show them where manifolds live, how to read a flow meter, what normal pump sounds like, and which valve to close in an emergency. Label zones clearly. A five-minute tour prevents panicked calls later.
Maintenance and Longevity
Radiant floors, once sealed under the finish, need remarkably little attention. The exposed parts do. For hydronic systems, an annual check keeps everything honest: inspect the expansion tank, test the relief valve, clean strainers, verify inhibitor levels if used, and check combustion and condensate on boilers. A good ECM pump hums quietly for years, but dust in a mechanical room or a stuck check valve can creep up. Electric radiant is nearly maintenance-free; the thermostat is your only moving part. If a cable ever fails, thermal cameras can sometimes pinpoint faults without demolition, and repair kits exist, but proper installation minimizes that risk.
Expect hydronic PEX to outlast the home when protected from UV and installed without kinks. Manifolds, pumps, and valves are consumables over decades. Electric mats and cables should match the life of the floor covering if embedded correctly.
A Short, Focused Checklist Before You Begin
- Confirm room-by-room heat loads and choose tube spacing or cable density accordingly. Verify floor coverings are approved for radiant and calculate their R-values. Decide on assembly type: slab, overpour, or panels, and account for height and weight. Select controls that match the heat source: mixing strategy, outdoor reset, floor sensors. Plan manifolds, loop lengths, and electrical circuits with labeling and access in mind.
When to Call a Pro
Plenty of skilled DIYers install electric radiant in bathrooms without drama, and some tackle hydronic with careful study. But complex zoning, mixed emitters, or a boiler replacement warrants a seasoned installer. A professional with experience in heating system installation will see the awkward details early, like how to keep water temperatures low yet cover a glassy west wall, or how to vent a condensing boiler cleanly given your home’s geometry. The best installs do not just follow a diagram. They respond to the quirks of the building and the people living in it.
Radiant floor heating rewards that attention to detail. Done well, it disappears into the home and simply feels right. Shoes come off in January. There is no roar of air, only quiet surfaces at the right temperature. People notice their rooms feel comfortable at lower thermostat settings, and energy bills often reflect that shift. Whether you are planning a targeted upgrade or a full heating replacement, take the time to design for your rooms, choose the right assembly, and commission the system properly. The floor will do the rest.
Mastertech Heating & Cooling Corp
Address: 139-27 Queens Blvd, Jamaica, NY 11435
Phone: (516) 203-7489
Website: https://mastertechserviceny.com/